Studio
Below is a view of my studio space as of 2022, in the loft of my log cabin in Townsend, Tennessee. It's equipped with a variety of furniture and gadgets, most of which I built for this space between 2019 and 2021.
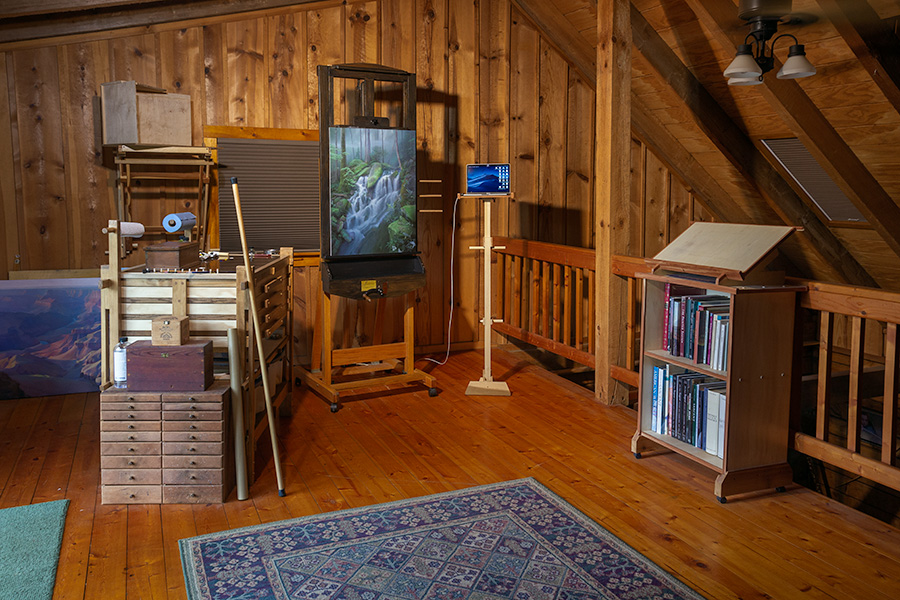
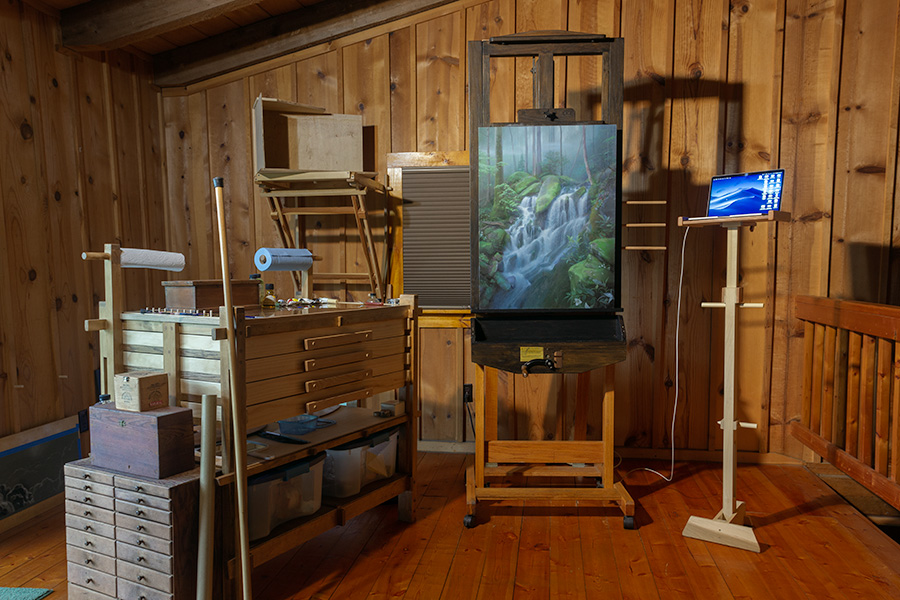
My "Kelley-Crank" easel is central. This is the only item of studio furniture which I did not build - I purchased it during my years in Hawai. It was formerly a warm, bright color, but I've recently painted it dark brown to render it less distracting to the eye while painting.
To the right of the easel is my revolving laptop stand and my bookcase for art books. To the left is my painting workstation with four large drawers, and also my still-life stand (mounted on the back wall). Out of sight behind me in these shots is a flat-file cabinet with 18 drawers. I designed and built all of this furniture for the studio, with the use of both power tools and hand tools in my basement woodshop. Continue scrolling for more detail about each item.
- Custom-made Studio Furniture -
Painting Workstation
Aside from the easel, this is the most important feature of my studio. It has four large drawers for organizing pencils, pastels, brushes, paint and other tools. The top is covered with tempered glass, which is my mixing surface for paint. There are holders for two types of paper towels - standard towels and lint-free, blue "shop towels" - which get used for different purposes. My brush-washing canister, filled with mineral spirits, is held securely in a little sidecar (not very visible in these shots) which keeps the canister out of the way and ensures that it can never be dropped or spilled.
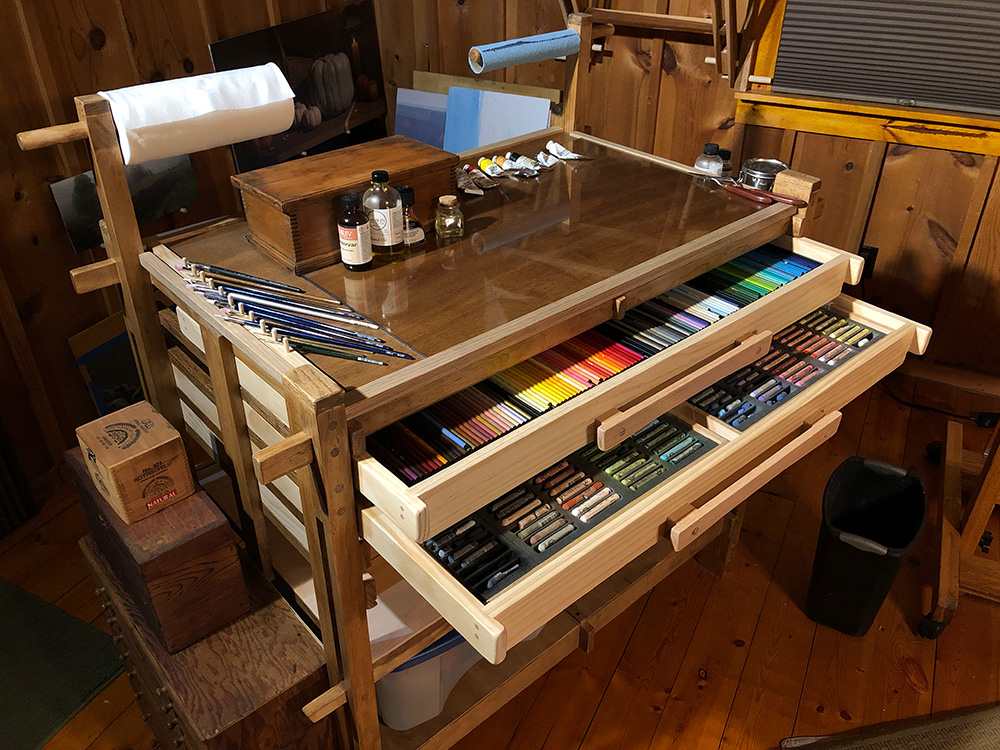
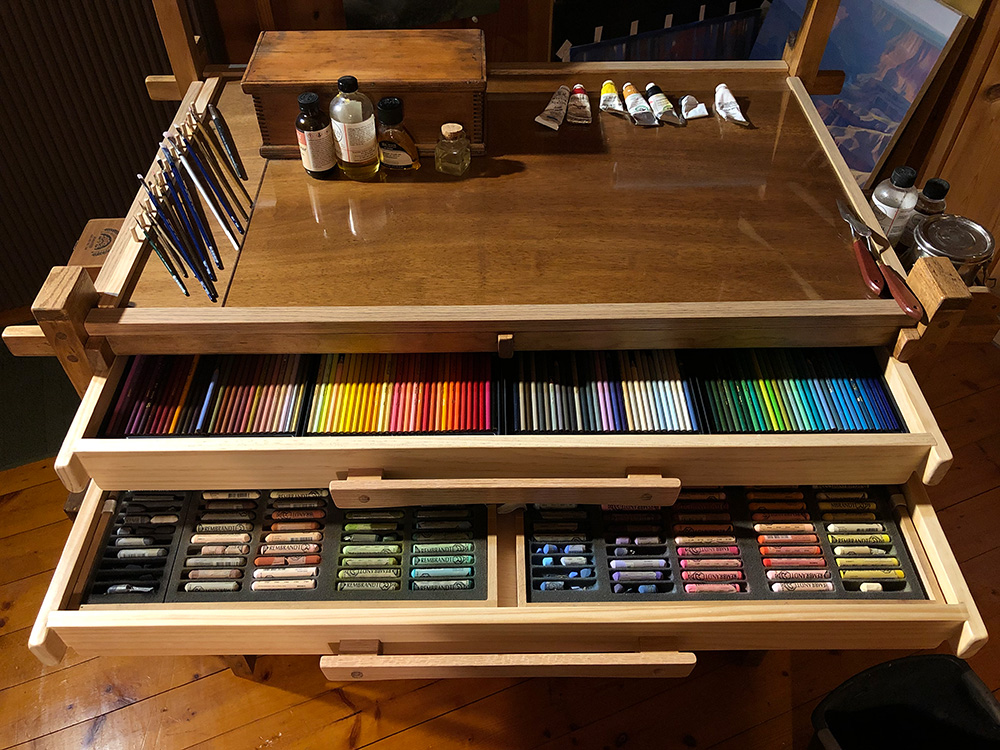
The four drawers are really big - 24 inches deep and 48 inches wide. The workstation is open on both sides, so that the drawers can be accessed from either side; this allows the front and back halves of each drawer to be utilized for holding different items, and ensures that the full depth of each drawer is genuinely useful.
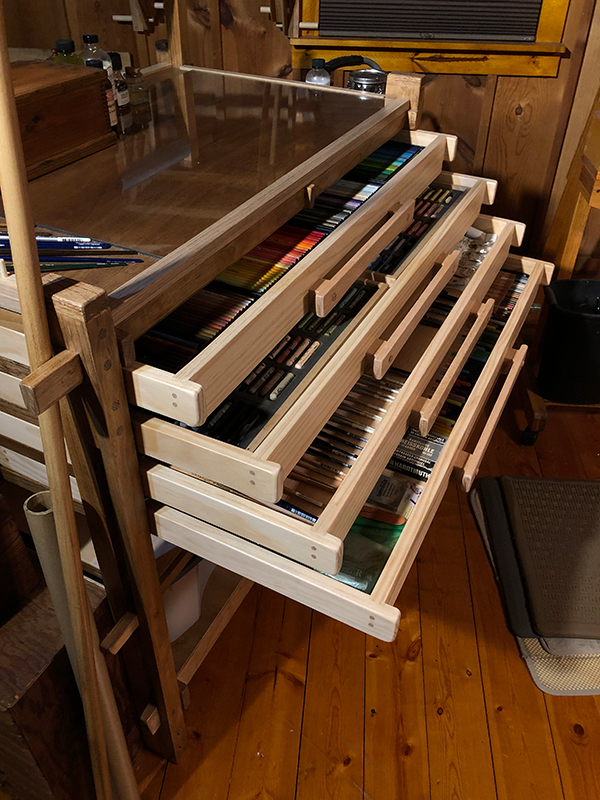
By far, the drawers were the most difficult element to build. They had to be perfectly square and of exactly the same size, and that's not an easy thing to achieve.

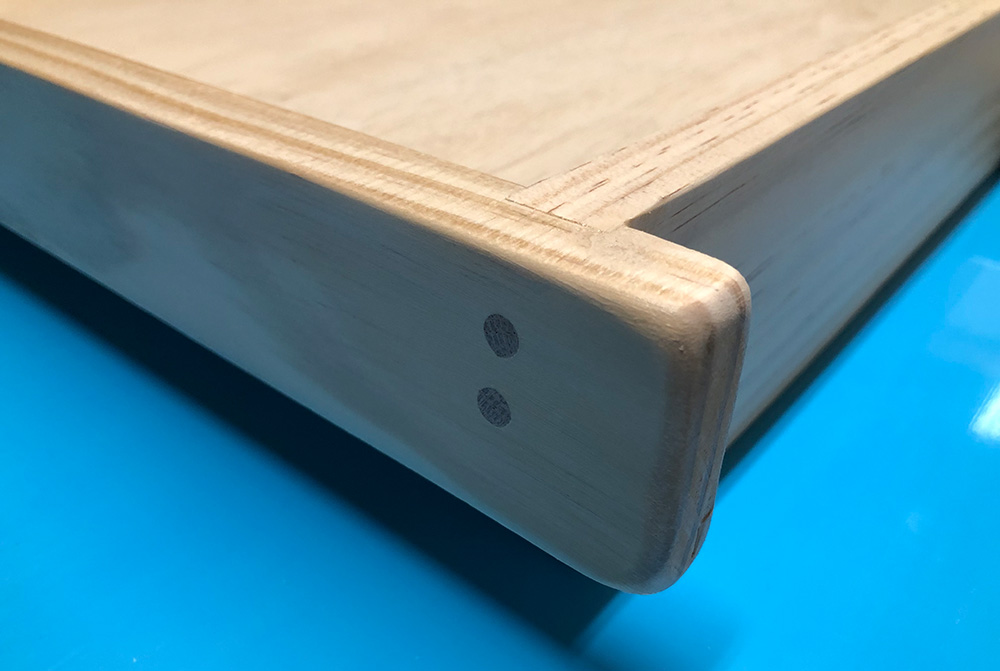
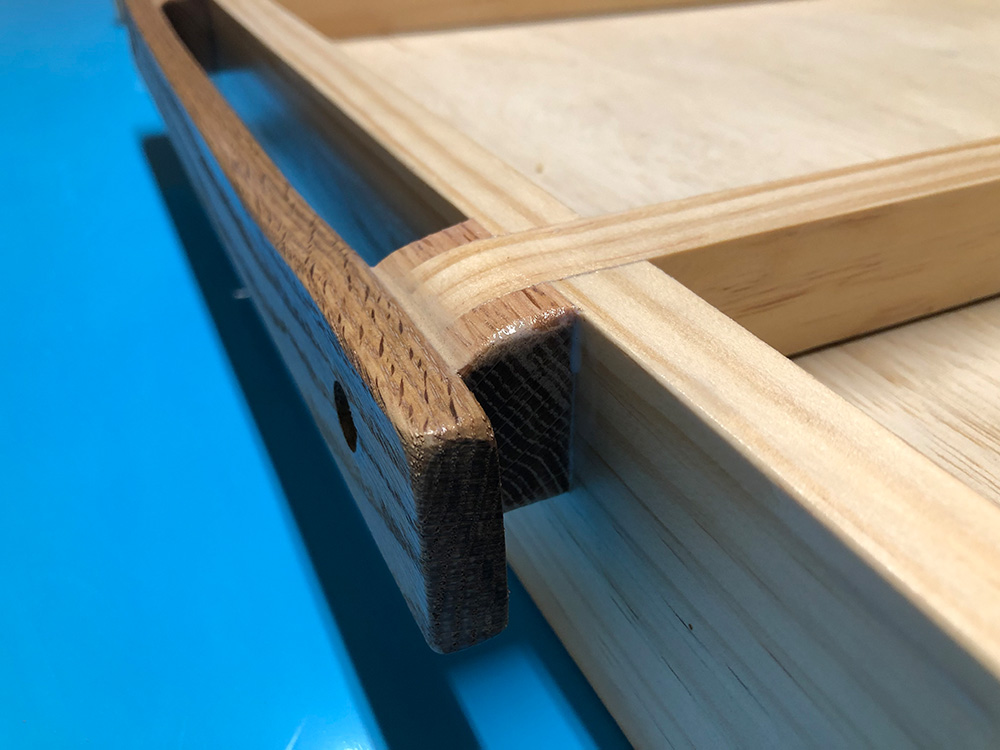
Below is some joinery detail at the corner of a drawer - I used glue and wooden pins to secure this simple joint where one piece fits into a slot cut into the other. Then I sanded everything perfectly smooth.
On both the front and back, each drawer has an identical drawer pull that I designed with subtle angles and curves for purely decorative purposes:
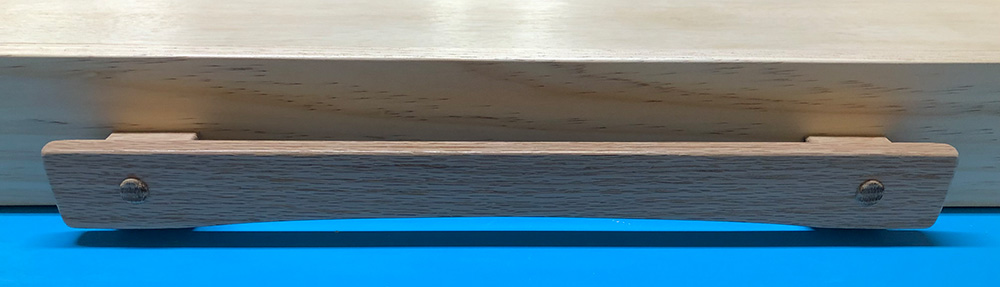
On the underside of each drawer-pull, you can see how it connects to the hidden braces that run the full length of each drawer, providing support for the drawer bottom and giving more strength to the entire structure.
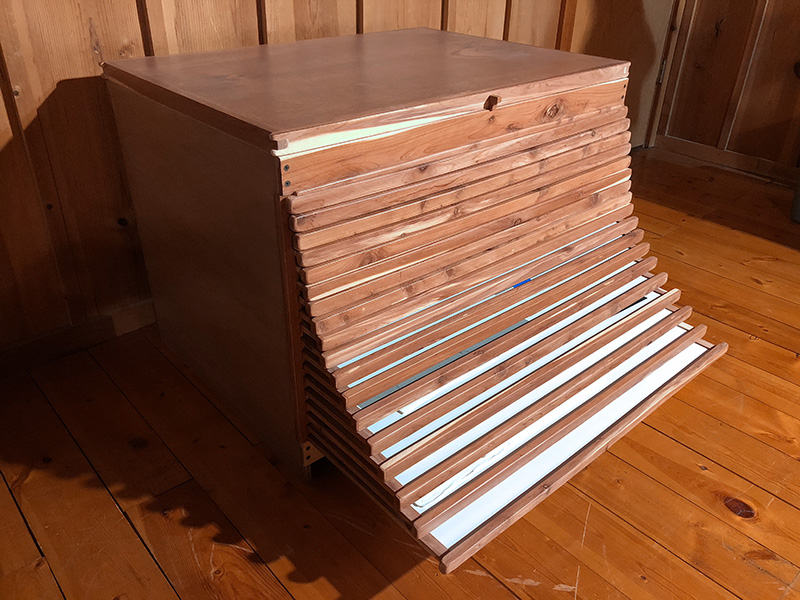
18-Drawer Flat File Cabinet
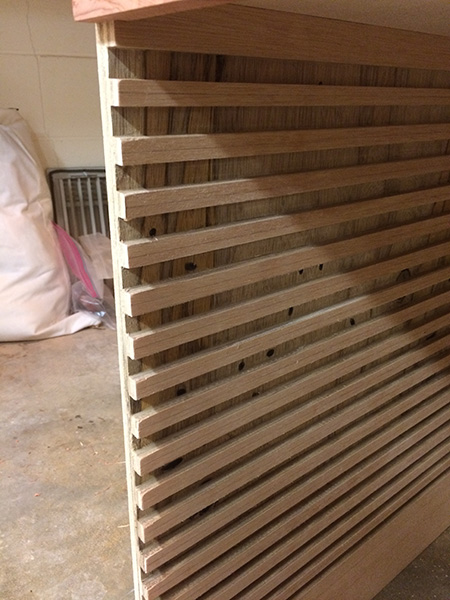
This flat-file cabinet safely stores individual sheets of fragile papers, as well as unfinished works on both paper and canvas. Believe it or not, everthing in this cabinet used to be laying flat on the studio floor or under my bed. Because of that problem, this was the first item that I built for the studio. It has 18 shallow drawers in less than two feet of height. Each drawer is made of rigid, 6mm aluminum composite panel with wooden fronts and sides applied to them, and these run into slots that I cut into the walls of the cabinet with the use of a router.
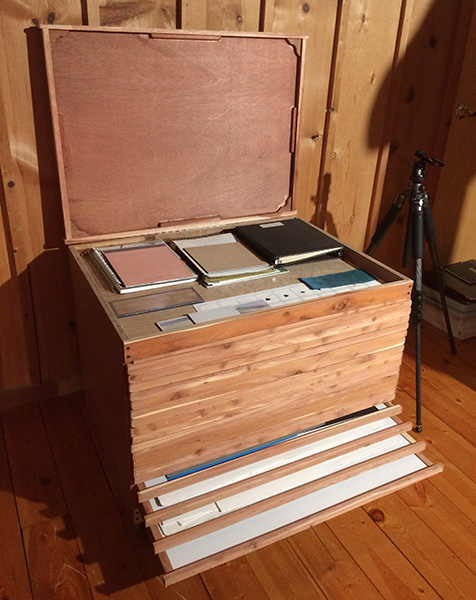
In addition to the drawers, there is also an open space at the top, two inches deep, for storing pads of paper and other loose items:
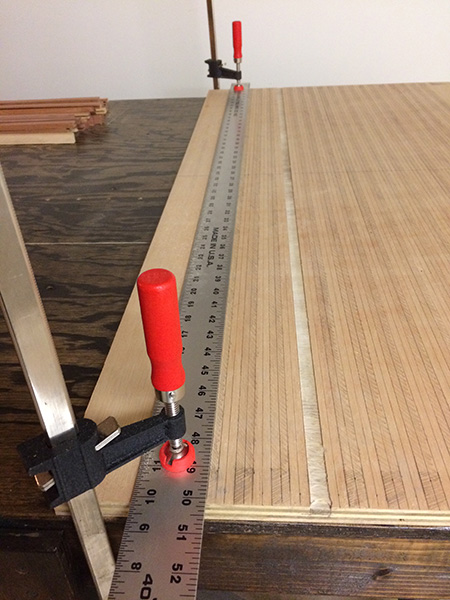
Below, you can see that I had to very carefully measure for the router cuts to form the slots for each drawer - there was no room for error here;
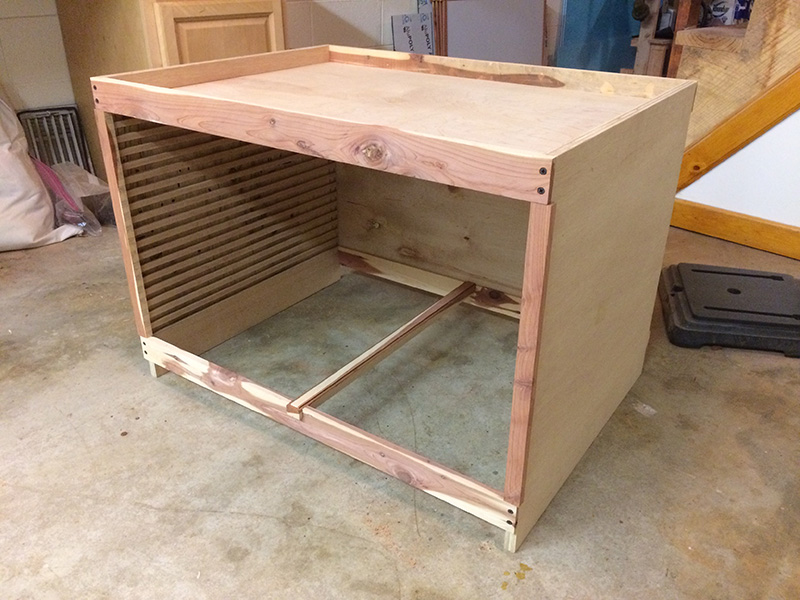
The cabinet body nearing completion:
Revolving Laptop Stand
This adjustable stand holds my laptop at two different heights, and the top spins around 360 degrees:

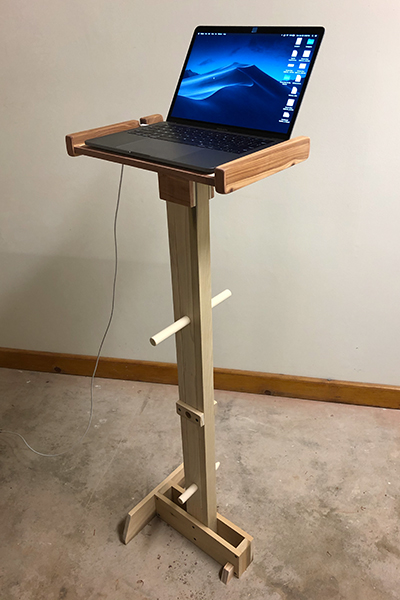
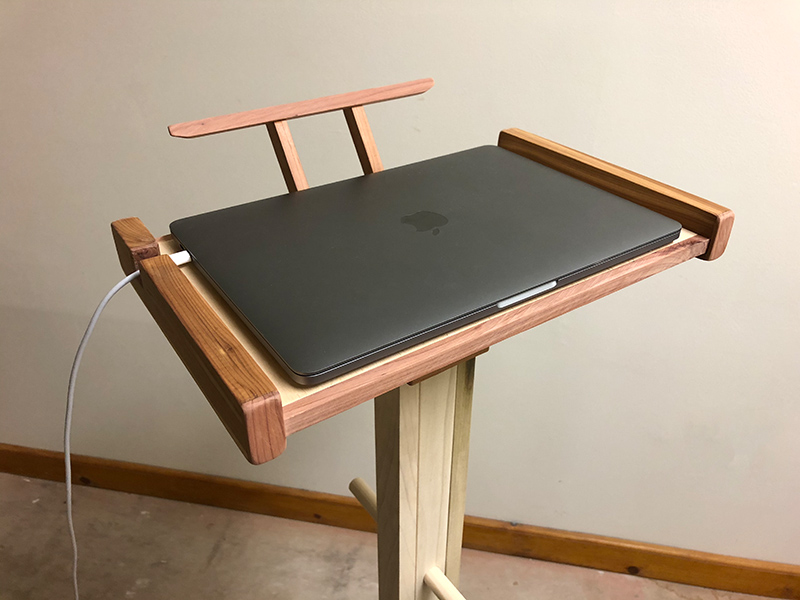
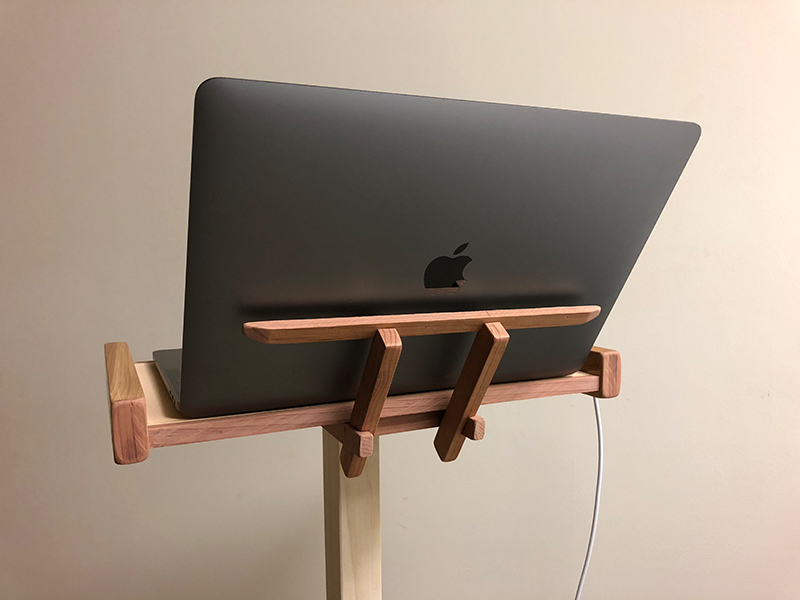
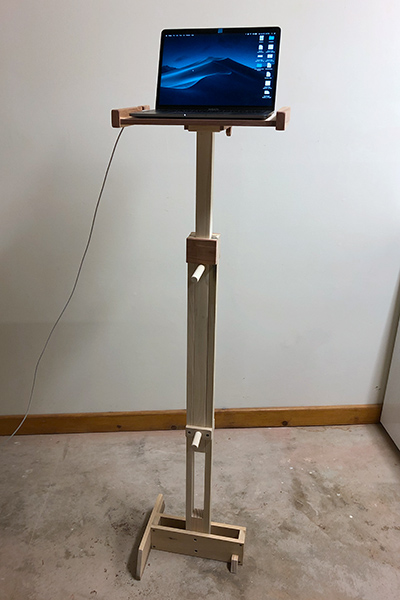
Below, the stand is at its maximum height, which is how I typically use it in the studio:
Bookcase with Reading Stand
My collection of art books required a bookcase, so I made this one with a 45-degree reading stand on top:
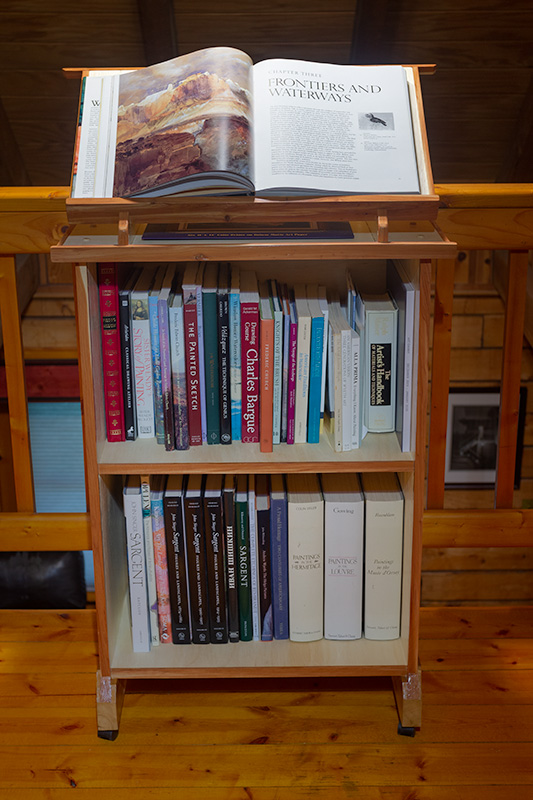
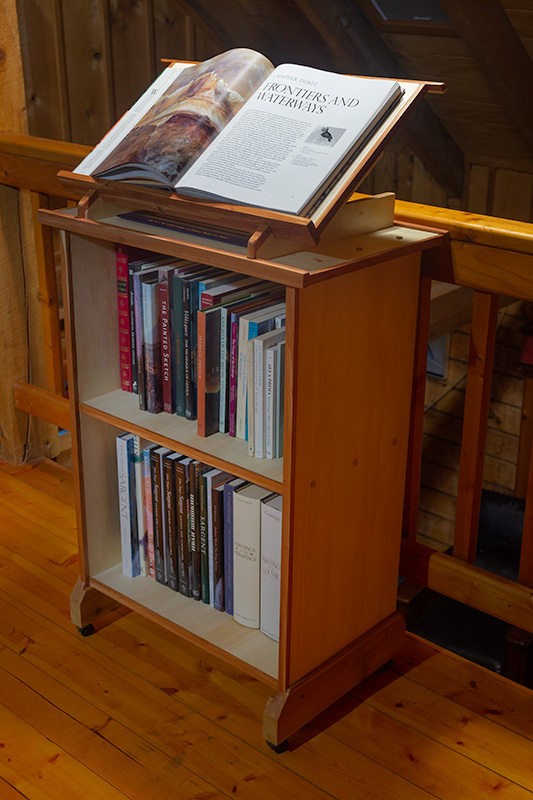

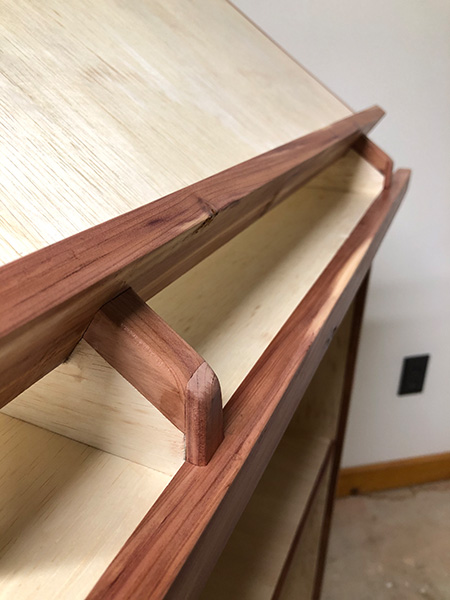
The stand was mostly constructed with plywood, and I hid the ugly plywood edges with cedar trim:
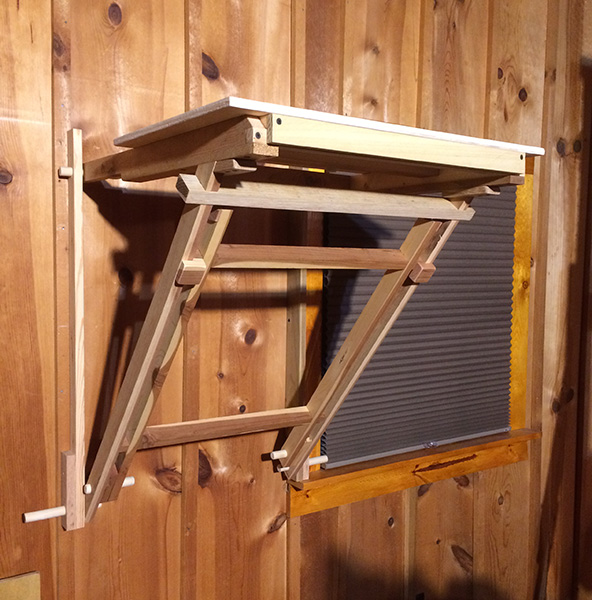
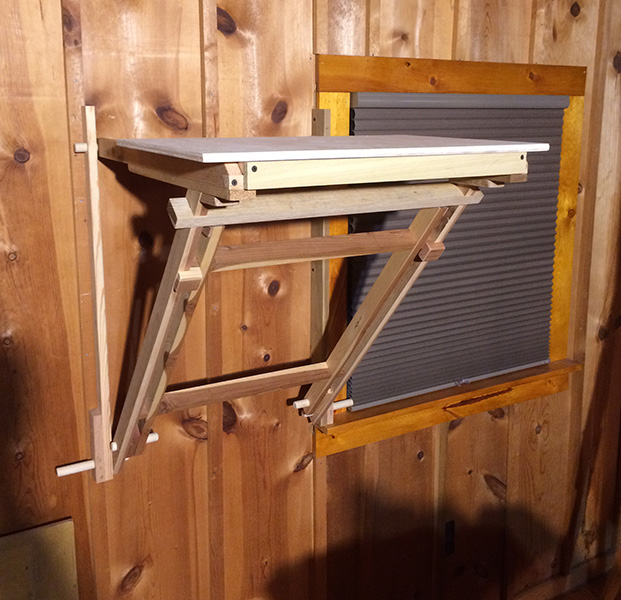
Revolving Still-Life Stand
A persistent problem in the studio has been the need for a dedicated surface for setting up still-life arrangments. This stand folds flat against the wall when not in use, but can be deployed at two different heights, depending on what I need. There are two separate sets of arms that support the stand at the two levels, but they conveniently fold into one another to appear as one set. The top surface revolves, and also has a set of removable walls that can be installed to form a shadow-box when needed (not shown in these photos).
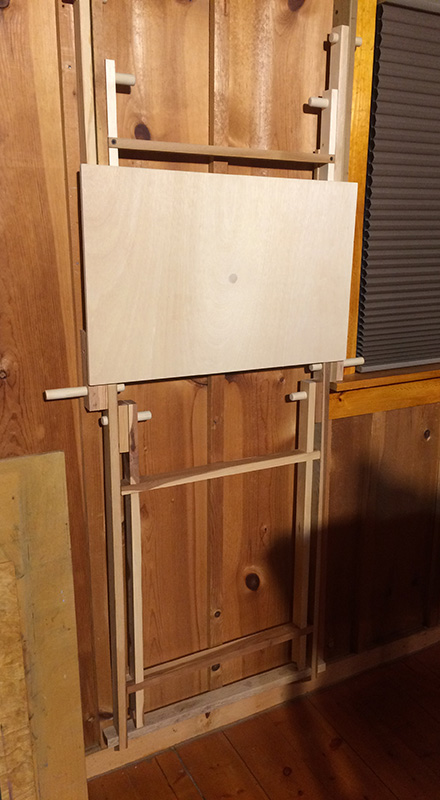
This is quite a complicated device, but it began with only the most rudimentary idea of how it could work, and it just evolved as it went along - it's still a surprise to me that it actually works. It was essential to get the top surface absolutely level, so that round objects would not roll off.